
I am working on my second
remote and thought I would explain as to how I paint the coloured
lighting on my miniatures. When there is a element on a miniature
that is supposed to illuminate light, we want to emphasis that light
source with contrasts of shadow and highlights in the areas where the
light would fall or beam too.
The colour I am using for
this tutorial is red, but please feel free to apply the same
technique with alternate colours as the principles are the same.
Here are my colours on the
palette. I am using red ink as my primary colour as it has a very
strong pigment and due to it’s consistency will flow nicely when
applying it to the model. The other colours I will use are the
Stonewall grey and white. Please use alternate brands if you do not
access to the Vallejo paints used here.

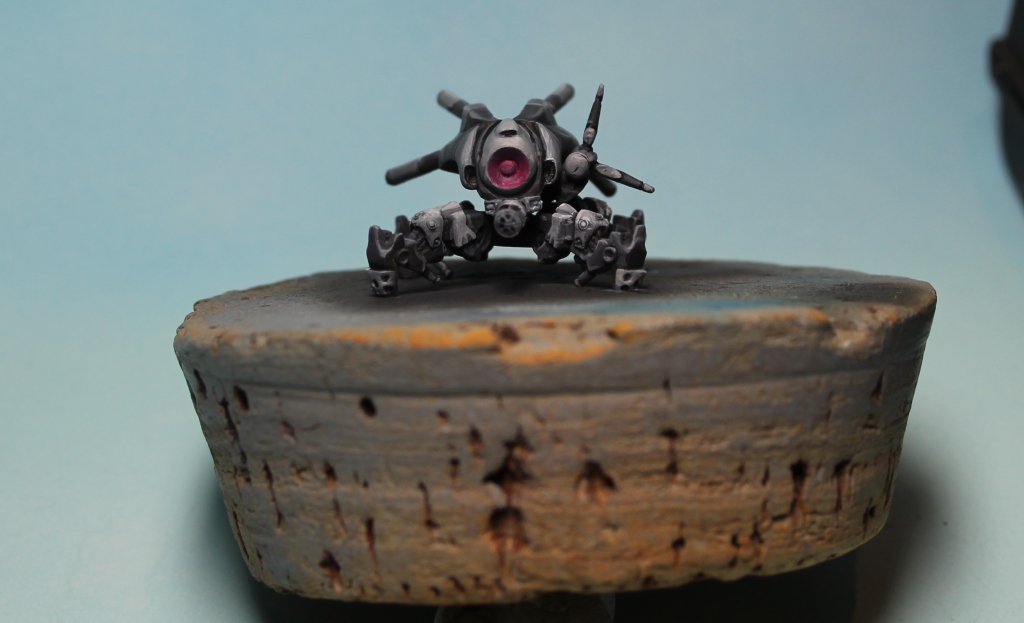
Here is the miniature that
I am in the process of painting at the moment, and I will now look to
paint the round depressed part of the model using my red mix.
Just mix each of the grey
and white into the corner of the red ink so that you have a good
contrast of tones in your mix. This is just an easy way of seeing the
different tones of the colours you are going to use, and also a way
when blending to go back and reusing different tones of colour if
needed during the process.

Now taking the pure red
ink on our size #1 or #2 brush, we apply that to the area of the
model as shown on the next picture. Leave that to dry for a minute or
two and reapply a second coat and leave to dry again.
Now we are going to take a
mix of the red ink and the grey paint and apply that to the bottom
half of the circular section. If need be you may need to apply a
second coat if the first coat is too transparent.

Now we apply more of the
grey to make our mix lighter and do the same process as above but
this time we only paint it onto a smaller section of the bottom lip
of our light. I have also painted a small circular line at the top of
the very centre part where the light is emitted from. I also added a
small dot of the same mix to the bottom of that centre circle.

Now adding some white to
the mix we can concentrate on the highlighted areas of the light
source. We will follow the same technique as before but apply a
smaller area of the lighter mix to the very centre of the bottom lip.
I applied another pure red ink to the very top of the circular
section to build up more contrast between the light and shade of the
light.

I have now gone ahead and
added a mid tone mix and blended it in on the side of the bottom lip
to give the effect of a ray or beam of reflected light. You don’t
have to go this extra step but if you feel like it then please try
it. You can always go and fix it up with the mixes on your palette.
So there you have it guys,
I hope I have explained a simple way to make things shine on your
minis with this tutorial. If you have any suggestions or comments
them please leave them in the comment section and I will endeavour to
address them for you.
Cheers
Yoshi
No comments:
Post a Comment